I’m a makeup junkie. It’s that simple.
My life is a constant struggle between finding the perfect red lipstick or picking the right shade of bronzer. Back in the day, I was THAT girl with bright eyeshadow and way too much lip gloss. Flash forward fifteen years and i’m still the same girl, just slightly better makeup techniques. I am glad to say that I have learned a couple of things along the way and am here to share! I realize that not all girls have the time (or patience) to try every product at Sephora before picking a foundation or concealer but luckily for you, I do!
So today i’m sharing some of my tried and true make up tips as well as my take on the ever-so-intimidating contour technique by walking you through my makeup routine. Step by step.
Side note: I have oily skin and I can’t wear a lot of makeup everyday so this definitely not my daily routine. This is maybe what I would wear on a date, dinner, or formal event.
Tip #1: Prime Your Face
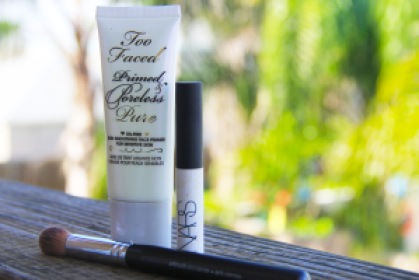
Ever curious why your face doesn’t look quite as flawless as the girl on Pinterest or YouTube you’re copying? There’s a good chance it’s because you aren’t priming your face. Primers such as Too Faced’s Primed Poreless and Nars’ Instant Line and Pore Perfector fill the uneven surfaces on your skin and gives your foundation a perfect smooth surface to be applied to. If you struggle with shine like I do, these primers also help with mattifying your skin. Apply a small amount of these products prior to your foundation and you’ll be surprised how much of a difference it will make.
Tip #2: Brush or Sponge?
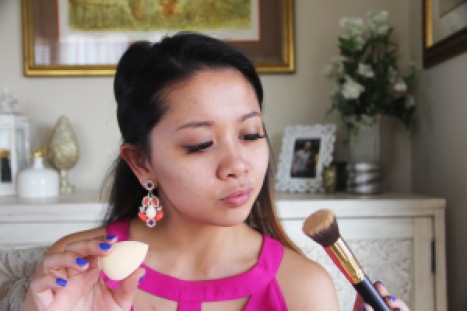
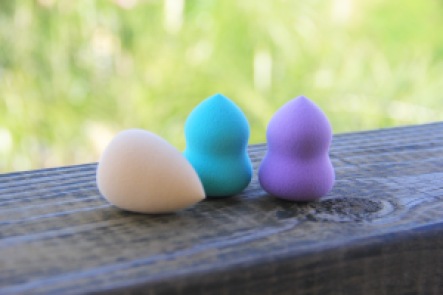
If you’re at all curious about makeup, you’ll have definitely noticed these brightly colored sponges showing up everywhere. They’re a bit pricey ($18-$30), so I completely understand why you may be skeptical to make such a large purchase on something you’re not really sure how to use. The one pictured is even an off-brand I ordered that is significantly cheaper on Amazon. However, I will disclose that my makeup soul mate/bff, Maddie, swears by the real Beauty Blenders and for that, I have ordered some to try them out.
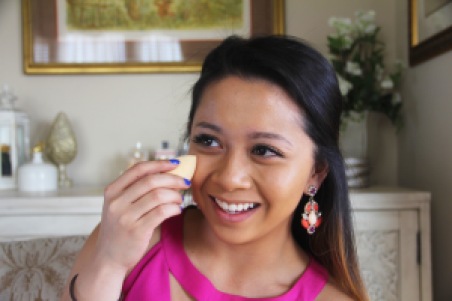
Their claim to fame is their ability to give your foundation and concealer an “airbrush” effect rather than left with streaks that often come with using a foundation brush. Personally, I don’t like how much product the sponge absorbs so, I apply my foundation on my face with my brush, and then pat it with a damp sponge. This will leave the majority of the foundation on your skin and still have the airbrush finish of the sponge!
Tip #3: Give Your Foundation Time
My makeup will look really tan when I am putting it on and still in liquid form. A lot of foundations oxidize when left on the face after a few minutes. So when you’re shopping for a new foundation, swatch a few samples on your jaw and check back to see which foundation matches after it has had time to set. This will save you time and frustration in the future.
Tip #4: Kick Dark Circles with Orange Concealer
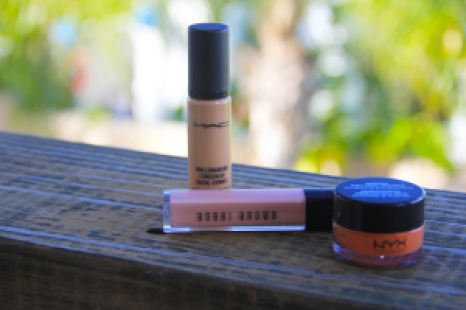
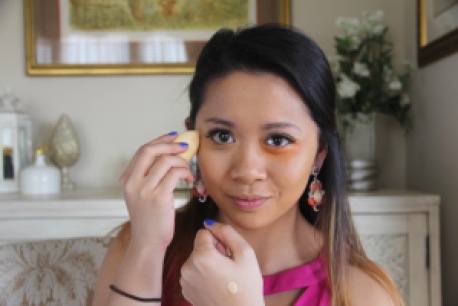
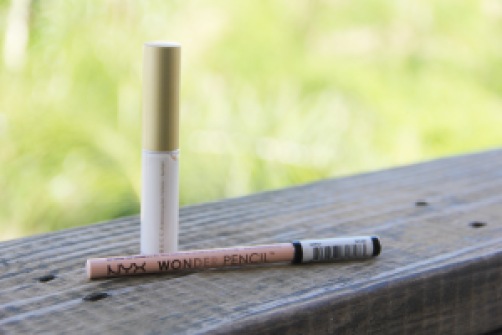
This looks crazy, I know. Just hear me out, the dark circles under your eyes are blood vessels that are visible through your skin which is why it gives off a blueish hue, essentially making you look exhausted. In order to get full color coverage that will last, apply a layer of orange concealer first. Orange is the color that cancels out blue so putting a layer of orange will eliminate your dark circles. I’m using a cheap alternative from Nyx.
Once you have put a layer of orange, apply your concealer normally and it should apply smoothly without any blues popping out throughout the day!
Tip #5: Let’s Contour!
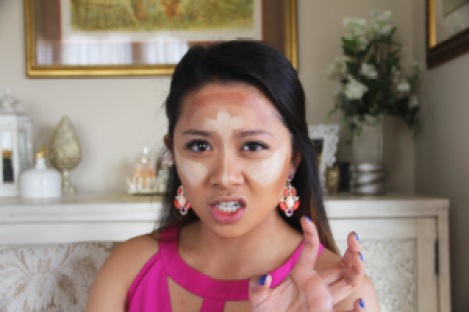
Painting the crazy tribal print on your face is the easiest part. Start out with two different shades: a lighter and darker. You don’t want either to be too drastically far from your normal skin tones. I use foundation sticks because it’s the easiest. Starting with the lighter color, I draw two triangle shapes under my eyes, this will high light my cheekbones. Then I highlight the center of my forehead and midline of my nose.
Then with the darker color, draw a straight line from the lower part of your ear to the hollows of your cheeks- don’t draw all the way down to your lips. Also, line the outer part of your forehead with the darker color.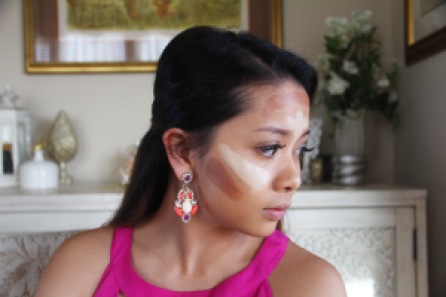
Note: If you have a larger forehead, use more of the darker color and less of the highlight. It will make your forehead appear smaller. Vice versa for smaller foreheads.
Tip #6: Blend, Girl, Blend!
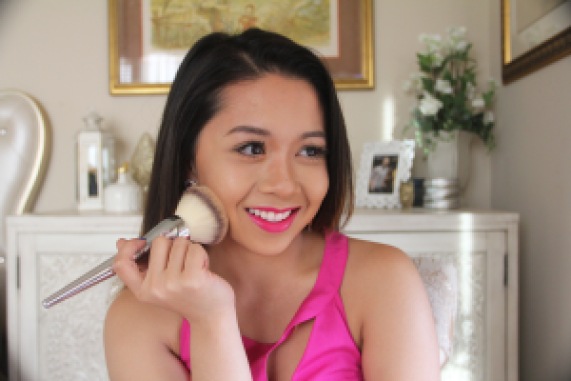
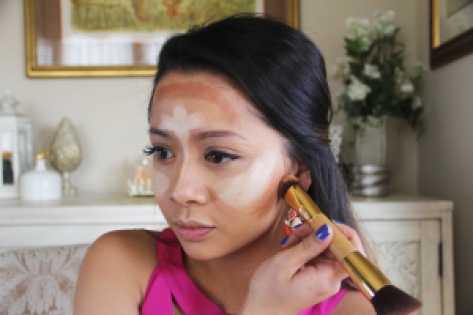
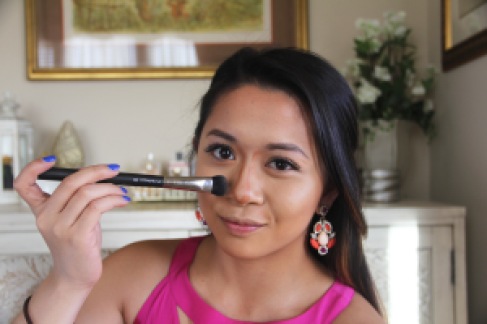
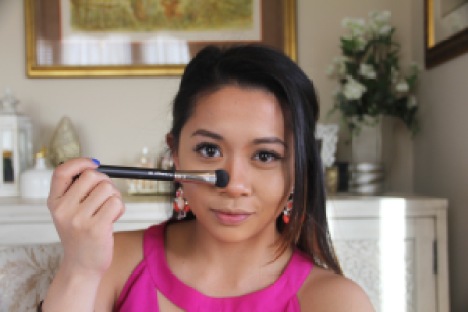
This is the hardest part of contouring. Over-blend and there was no reason to contour. Under-blend and you look like a failed attempt at tribal makeup. So what I recommend doing is using a smaller brush for the darker contour color. Use your brush and stroke upward motions to blend the cheek contour with the lighter highlight color. NEVER blend the darker cheek color downwards toward your jaw; it will eliminate the contour shadow. Use a separate, clean brush to blend the highlighter color. Only blend enough to make sure there are no harsh lines in between colors.
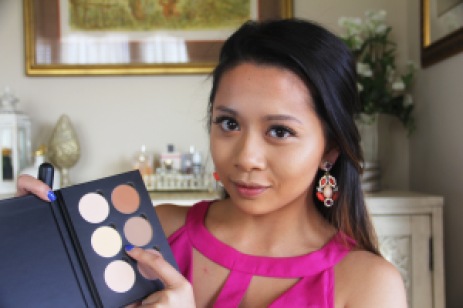
Once you’re done, you can set your contour lines with powders. This will make it last longer and more visible.
Using a yellow color powder to set the highlighted areas will make your face seem brighter and youthful. Using a white powder will come off as “ghostly” and may be a reason why your makeup looks very white in pictures.
Tip #7: Contour Your Nose
This is optional, but if you aren’t happy with the shape of your nose, there’s a quick way to fix it without surgery! Drawing two lines on the sides of your nose will give off the illusion that your nose is perfectly straight. You can draw the two lines closer if you would like your nose to appear slimmer. Putting some of the darker shade on the bottom of the nose will make your nose look shorter if you struggle with a longer nose. Once you have lined your nose, lightly blend the darker color away from the midline of your nose.
Tip #8: Use Angles to Fill Your Brows
I’ve seen some bad brows in my day. I can’t blame them, eyebrows are tough. From shape to shade there is plenty of room for error, but the use of some angles could help ease your shape worries.
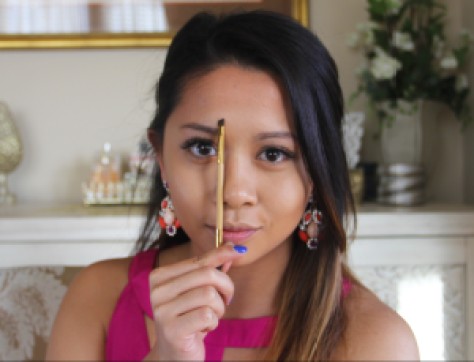
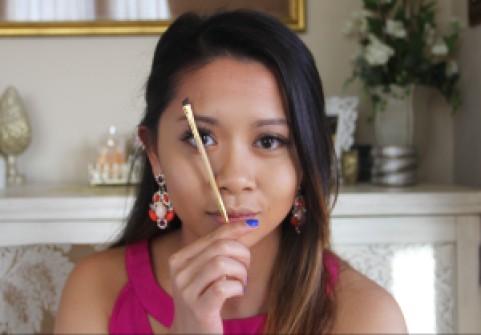
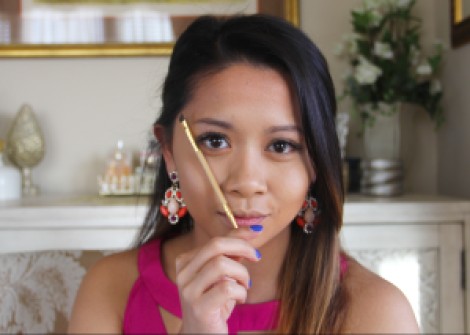
First, to find where your eyebrows should start, use any makeup brush and place the brush just above your nostril facing straight up. Where it lines up is where your brow should begin.
Then look straight ahead and place the brush on the outside of your nostril and line it up directly over the pupil. Where it ends should be where your eyebrow peaks.
Then, place the brush on the outside of the nostril and line it up with the outside corner of your eye. Where the brush ends will be the tail end of your eyebrow.
I like using Anastasia’s Dipbrow Pomade in Dark Brown and then setting it with a powder. Be careful not to use too much product, it’s extremely easy to get carried away.
Tip #9: Nude Eyeliner and Glitter Highlights
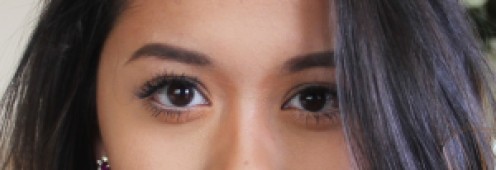
A big mistake I see a lot of girls making is using black liner on their waterline. While it can look extremely nice for certain makeup looks, it can make your eyes look smaller. Using a nude eyeliner on your water line will make your eyes look bigger without the tackiness of using an blunt white eyeliner.
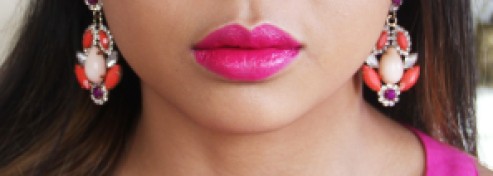
Additionally, I never really have this problem because I have with fuller lips, but if you do want your lips to look bigger, place a small amount of highlight shimmer on your Cupid’s Bow and the middle bottom area of your lower lip. This will reflect light and make your lips seem fuller. I am using Becca’s Simmering Skin Perfector in White Pearl.
Voila!
Leave a comment if you try any of these out & let me know how it works out for you!



Letting the foundation set and checking the colour afterwards is a great tip, thank you! Xx
No problem! I’ve made plenty of trips back to Sephora because the makeup didn’t set the same as when it set later in the day.
I love your blog 🙂
Your should check mine out too. I think you would like it 😉
https://mymakeuptipps.wordpress.com
Just checked it out! You have amazing advice! I am trying to follow your blog, but it’s not letting me. I would love to be able to keep up with your posts!
Oh well thats wierd :/ i have no idea why ..
Lovely <3
Your skin looks flawless! Love it!!Xx
Pretty!
This is my first time pay a quick visit at here and i
am genuinely happy to read all at single place.
Vitamin C Cream For Wrinkles recently posted…Vitamin C Cream For Wrinkles
Your mode of describing the whole thing in this piece
of writing is actually fastidious, every one can easily be aware
of it, Thanks a lot.
Piper recently posted…Piper
Howdy! This post could not be written any better!
Reading through this post reminds me of my old room mate!
He always kept chatting about this. I will forward this post
to him. Pretty sure he will have a good read. Many thanks for sharing!
yellow eyes symptoms liver disease recently posted…yellow eyes symptoms liver disease
Thank’s great post.
I simply want to tell you that I am all new to blogs and seriously loved this web site. More than likely I’m want to bookmark your blog post . You actually have superb articles. Thank you for sharing with us your blog site.
Tips are nice. but can you suggest me any product to to avoid make up side effects because my skin is sensitive and sometime when I remove my make up some red spots will appear on my face. please suggest me any natural product or tips to avoid these things.